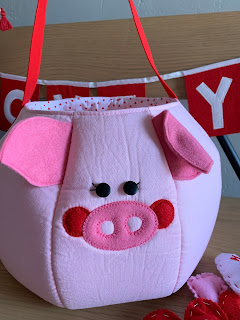
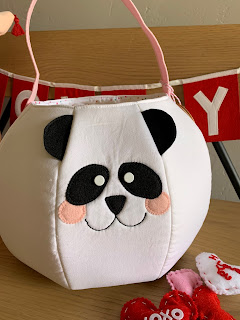
If you are new to using downloadable PDF sewing patterns; here are some hints to get you started.
I sale
my patterns on etsy, and they have an awesome way to access your downloadable purchases. Just click on your profile, go to "my purchases and reviews," scroll through to find your purchase and click on the black box to the right of the purchase that says,"download." You are able to download to your device from here. A downloadable link is also emailed to you once you've made your purchase. Keep in mind that you cannot access your purchases from the etsy app, you must use the website.
After purchasing a PDF pattern, save it on your drive where YOU can find it. Whether it's on the hard drive of your device, or on a Cloud account (like Google Drive)
keep a copy of it.
Next, you need a PDF reader on your device. This is an app that will allow you to open, read and print your PDF. I use
Adobe Acrobat Reader. It's free.
Open your pattern using the Reader.
Since some pattern pieces are larger than a usual home printer can print, there are usually multiple sheets to attach together.
Print the pattern pages. In the settings of your printer, choose "Actual Size" or "No Scaling." You need this step to be 100% accurate! Otherwise, your pattern will not fit together. Most patterns have a test square that you measure to make sure it is printed to the correct size. Don't skip this step.
Trim the blank borders from the pattern sheets. Leave some of the borders to have a surface to adhere to. I love my
paper trimmer, it makes quick work of cutting clean, straight lines.
Line up the printed sheets in order to get your large pattern pieces. Keep it all as accurate and smooth as possible.
**In my patterns, you use the background 1 inch grid squares and the pattern lines to help you keep it all straight and lined up. I also include a layout in the written instructions of how to assemble the pattern sheets. Every brand of pattern will vary slightly, but the goal is to create large, accurate pieces.**
Last, tape the sheets together. You can use a glue stick, but I find the clear tape easier to smooth and keep control of the piece.
And there you go. You now have large pattern pieces that are ready to use!


